

Protecting Finished Flooring During Commercial Fit-Out
A practical coordination framework for the interval between flooring installation and occupation.
Commercial interiors often remain active workplaces after the flooring has been installed. Follow-on trades, equipment movement and the final clean introduce different risks from the installation itself. A clear protection and handover plan helps buyers, contractors and operators agree who controls access and how concerns will be handled. The following framework is general project guidance, not a substitute for the final product instructions or a site-specific assessment.
1. Assign responsibility before the floor is released
A finished floor can pass an initial inspection and still be damaged while lighting, shelving or furniture work continues. Treat the period between installation and occupation as a separate coordination stage. Name a person who accepts the floor from the installer, another who controls access, and a contact who can resolve a protection problem. On smaller projects these roles may belong to one person, but the responsibility should remain explicit. Record the rooms covered by the release and identify areas that are still under installation. A verbal statement that the floor is finished does not explain who may enter or which tasks remain acceptable.
2. Match protection to the actual flooring system
Choose temporary protection using the final flooring supplier’s instructions and the planned activities. Ask about compatibility with the surface finish, whether moisture could become trapped, and whether coverings or their backing could mark the boards. Avoid assuming that a material suitable for another flooring category is suitable here. Any tape, adhesive or protective film needs specific approval for its intended contact surface. When approval is unclear, seek written guidance and agree a controlled trial with the responsible supplier. Protective materials should arrive clean and be inspected before use; grit beneath a covering can undermine the purpose of protection.
3. Separate access routes from working areas
Map the route from the delivery entrance to each room before other trades return. Consider doors, corners, temporary storage points and the places where people turn carts. The protection plan should follow actual movement, rather than covering only the visually prominent center of a room. Distinguish a walking route from an area where materials may be staged. Keep route changes visible to the team and communicate them during the daily coordination discussion. Do not let coverings obstruct exits or hide a change in level. Confirm access and safety arrangements with the site manager under the applicable project requirements.
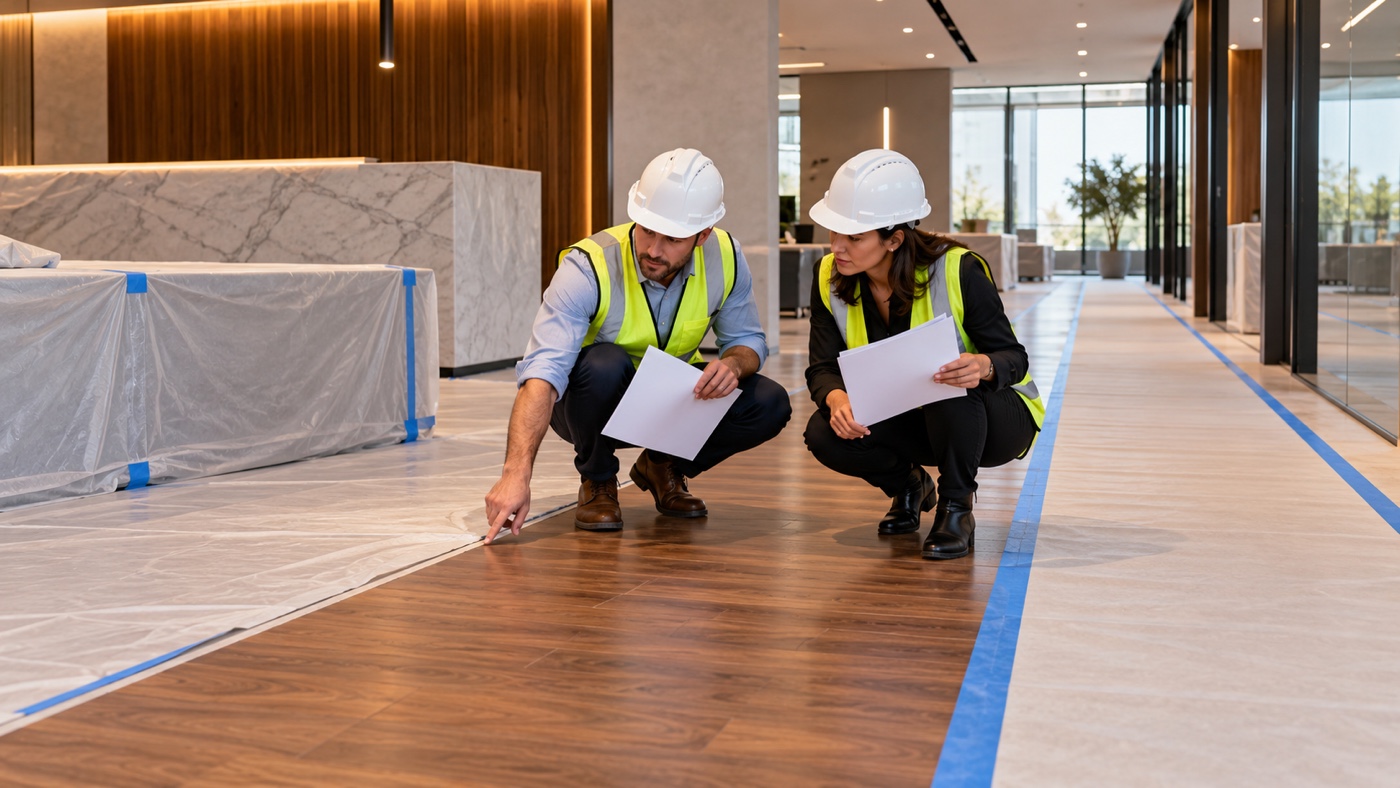
4. Review rolling loads and furniture handling
Protection sheets do not automatically make every trolley or equipment item suitable for the floor. Ask the contractor to identify wheel types, expected loads and turning movements, then obtain the necessary product-specific assessment. Review where furniture will be unpacked and how it will reach its final position. Use a handling method accepted by the responsible parties, and avoid dragging items across exposed boards. Check the condition of contact pads and equipment wheels before movement begins. Where a task could exceed the confirmed limits, revise the sequence or handling arrangement instead of treating an extra covering as proof of adequate protection.
5. Inspect underneath, not only on top
A neat protective surface can conceal loose grit, trapped moisture or an early finish mark. Agree inspection points that allow the covering to be lifted safely without disrupting the installation. The frequency should follow actual traffic, remaining tasks and the final product guidance; there is no universal interval appropriate to every project. Pay attention after deliveries, wet work nearby or a change in working conditions. Record the location and condition of any concern, remove the immediate cause where safe, and ask the responsible specialist how to proceed. Do not conceal a defect with fresh protection and leave the next team to discover it.
6. Control cleaning and local repairs
Before the final clean, confirm the approved products, tools and method for the installed flooring. A cleaner used successfully on another surface may not be suitable for this finish. Keep labels and supplier instructions available to the cleaning contractor, and prevent unapproved polishing or aggressive treatment from becoming an improvised repair. If a board is damaged, document the condition and seek a product-specific repair or replacement procedure. Herringbone and other directional layouts may need particular attention to board orientation and access. Do not promise that every visible mark can be removed or that a local replacement will be straightforward.
7. Close the protection stage with a documented handover
Remove temporary protection in a sequence that prevents the remaining work from recontaminating completed areas. Inspect the exposed floor with the relevant parties and record outstanding issues by location. Separate an agreed snag from an unresolved question so that responsibility and next action remain clear. Provide the operator with the final maintenance information and approved product identification, along with any restrictions that remain in effect. Photographs can support the record, but they should be dated project evidence rather than generic illustrations. Retain the signed handover record with the other project documents so that later questions can be traced to an agreed condition.
Release checklist
Before opening an area, confirm the responsible contact, approved protection material, permitted routes, handling arrangements, inspection record, cleaning method and outstanding issues. Each item should refer to the actual room and final flooring product. Keep the checklist accessible to the people carrying out the remaining work.
Plan the final stage as part of the project
Protection works best when it is included in the programme before installation finishes. Agree the sequence with all relevant trades, review it when conditions change, and close the stage with a shared condition record. This gives the operator a clearer starting point for routine care.
Coordinate product information
For a proposed Xinjue Flooring specification, ask Wenzhou Qinsi New Materials Co., Ltd. which final product documents are available for the project team to review. Confirm material compatibility and site arrangements with the responsible parties before work begins.
General planning information only. Follow the final product documentation, applicable project requirements and site conditions. Illustrations are AI-generated concepts, not photographs of a company project.
www.qinsiflooring.com
Wenzhou Qinsi New Materials Co., Ltd.